Blog

  • Practise based research

    This post presents an overview of the practical research I carried out during the term through different animation exercises such as walk cycles, mood variation in animation, CGI modelling, lip sync animation, and animation tests. Practice-based research involves gaining knowledge through experimentation and making, which allowed me to understand animation principles by applying them directly in my work.

    Throughout the term, I focused on improving several fundamental skills including form, colour, anatomy, gesture drawing, and perspective. Understanding these elements helped me think about animation in a three-dimensional space, even when working in 2D. These skills are important because they help add depth, structure, and dynamism to animated characters and environments.

    Walk Cycle Experiments and Timing Research

    One of the most challenging areas for me was 2D animation, particularly understanding how timing and key poses work together to make animation feel lively. To improve this, I started practising with simple animation exercises, beginning with a bouncing ball character test. This helped me understand the concept of spacing and timing (Clip 1).

    Clip 1

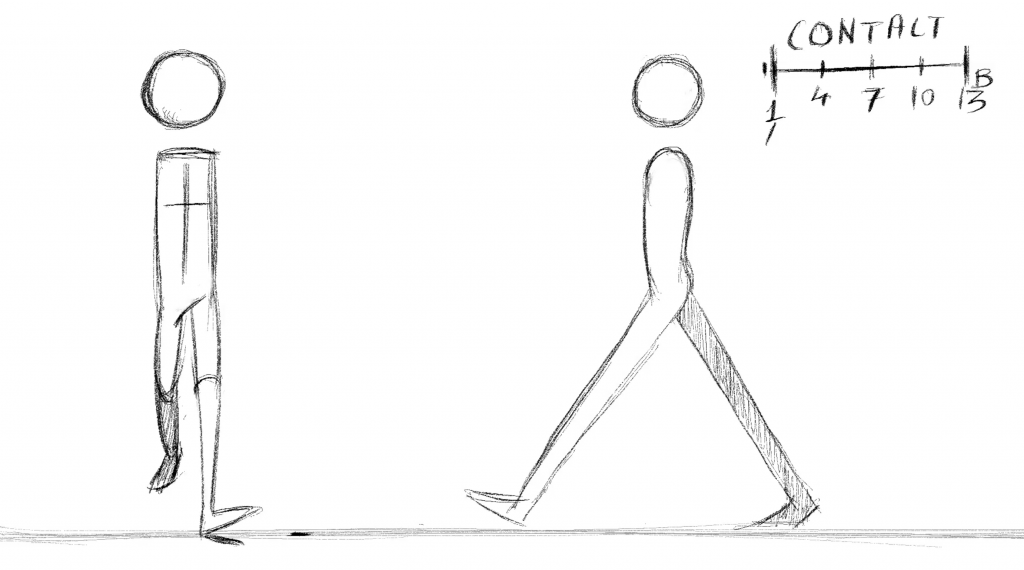
    After this exercise, I moved on to creating a walk cycle animation. Initially, I worked with very rough drawings and basic shapes without animating the arms, which allowed me to focus on the movement of the legs first. I began by placing the contact poses, followed by the passing poses, and then the in-between frames while animating at 24 frames per second. The rough animation showing these poses is demonstrated in Clip 2, while the final version with arms added can also be seen in the same clip.

    Clip 2

    During this process, I experimented with the up and down poses in the walk cycle. At first, I mistakenly placed the down pose after the passing pose, which made the animation feel slightly jerky. After adjusting the order to follow the correct movement arc contact, down, passing, then up the walk cycle became smoother and more natural. Through this experiment, I realised how small adjustments in timing and pose placement can significantly change the character’s movement.

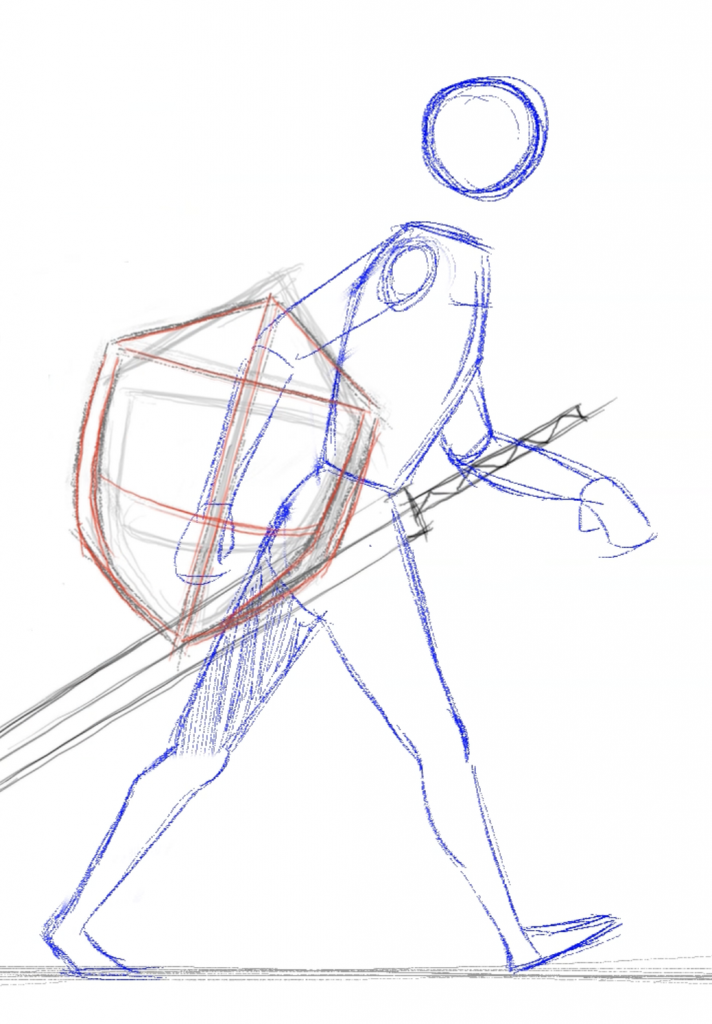
    I also explored mood changes in walk cycles, where I modified the basic walk to create a different emotional tone. For example, I created a walk cycle for a warrior character who becomes alert after being hit by an arrow. By adjusting the posture and timing of the poses, the walk appeared more tense and cautious. This exercise showed how the same walk structure can be manipulated to create different character emotions.

    CGI Experiments and 3D Modelling

    Alongside 2D animation, I also explored CGI techniques, particularly 3D modelling and rigging. In the early stages of the course, we created simple characters and environments in Autodesk Maya using basic shapes to understand the software (Clip 3). This first exercise focused more on experimentation rather than detailed planning.

    Clip 3

    Later, we explored facial animation using blend shapes, which helped me understand how facial expressions can be controlled in 3D animation (Clip 4). I also experimented with Grease Pencil in Blender, which allows 2D drawing within a 3D environment (Clip 5).

    Clip 4

    Clip 5

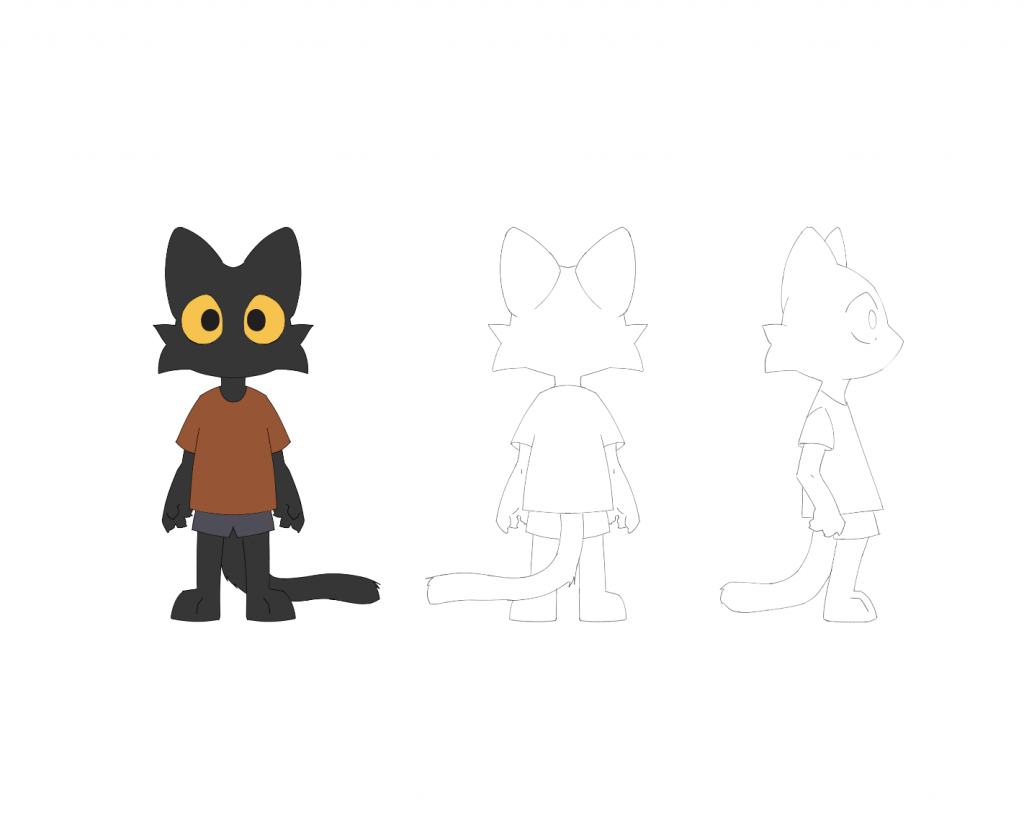
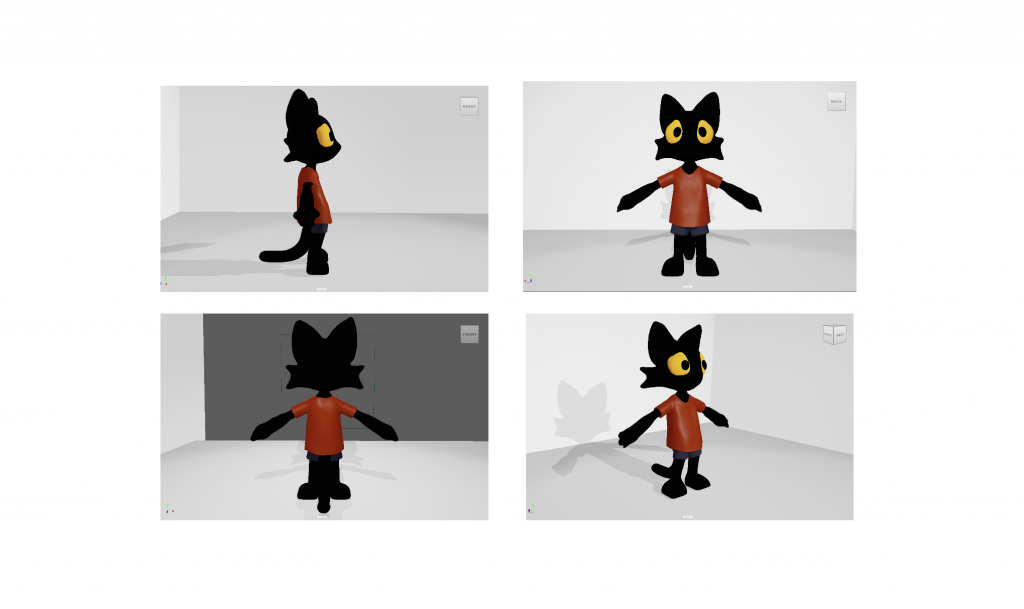
    For the final CGI exercise, I created a character model from scratch and rigged it for animation. Before starting the modelling process, I first created character sketches and design research to understand the character’s appearance and appeal. This planning stage helped make the modelling process clearer and more efficient, as 3D modelling can be very time-consuming if there is no clear design direction.The final rigged 3D character model can be seen in Figure 2 with sketches.
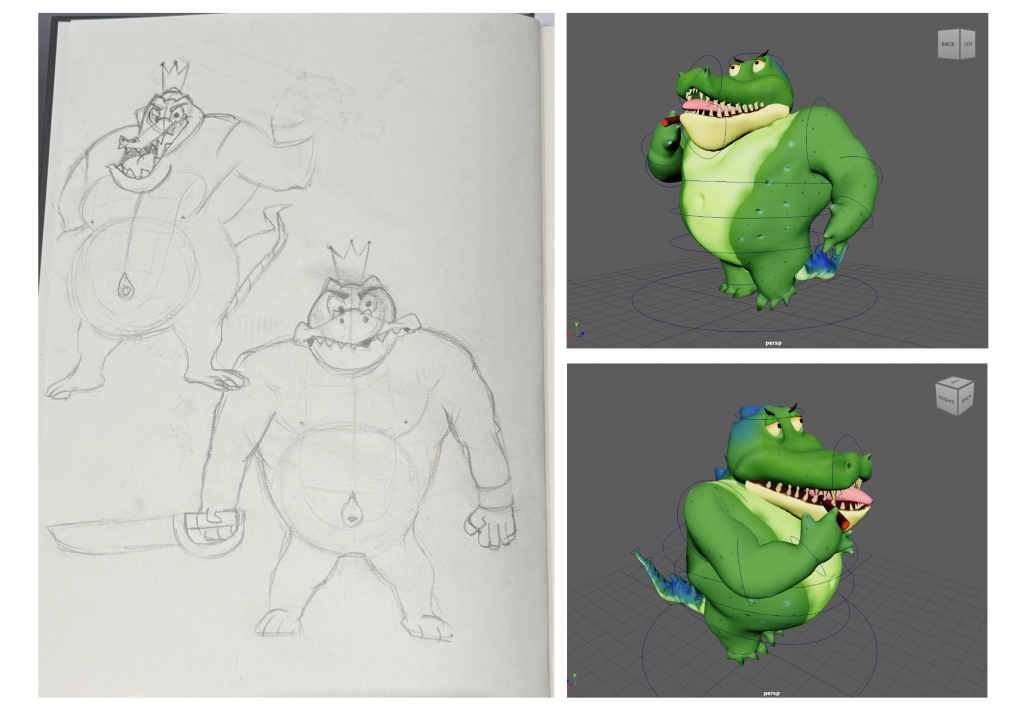
    Figure 2

    Lip Sync Animation and Acting References

    Another important project during the term was a lip sync animation assignment, which I found particularly challenging. Initially, I had an idea for the animation, but when I started animating, some parts of the concept were unclear. As a result, the first version of the animation felt messy and lacked rhythm and humour.

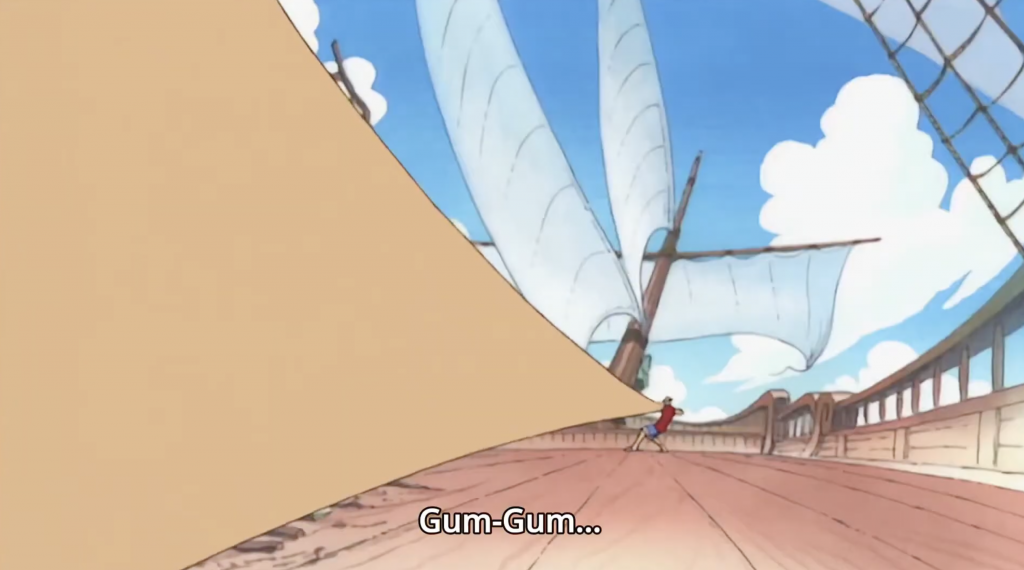
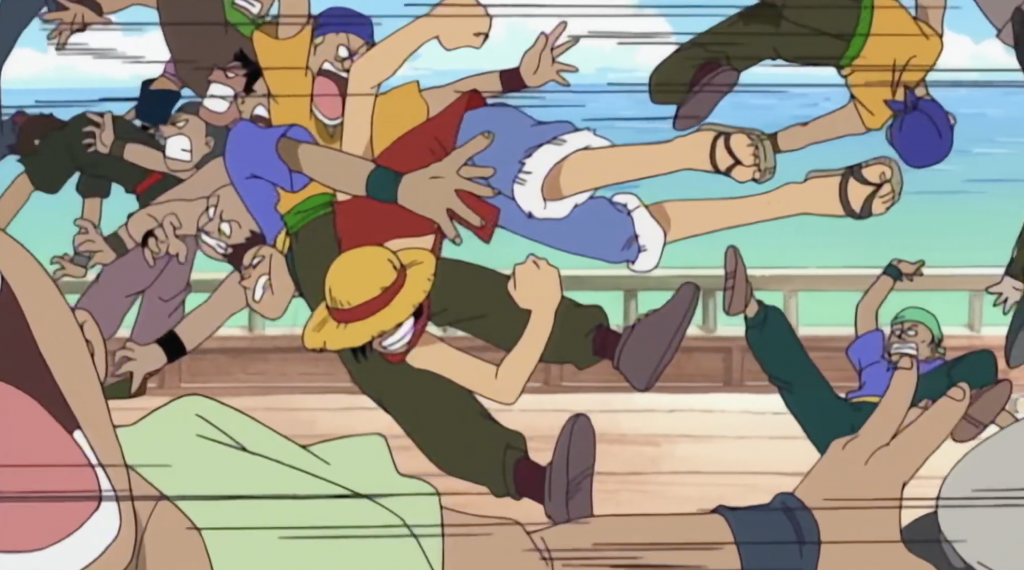
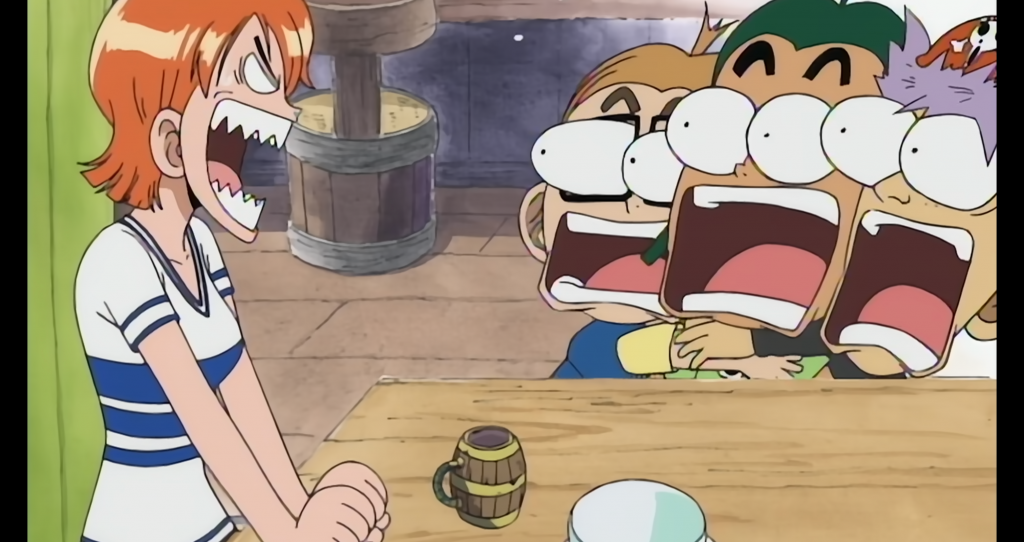
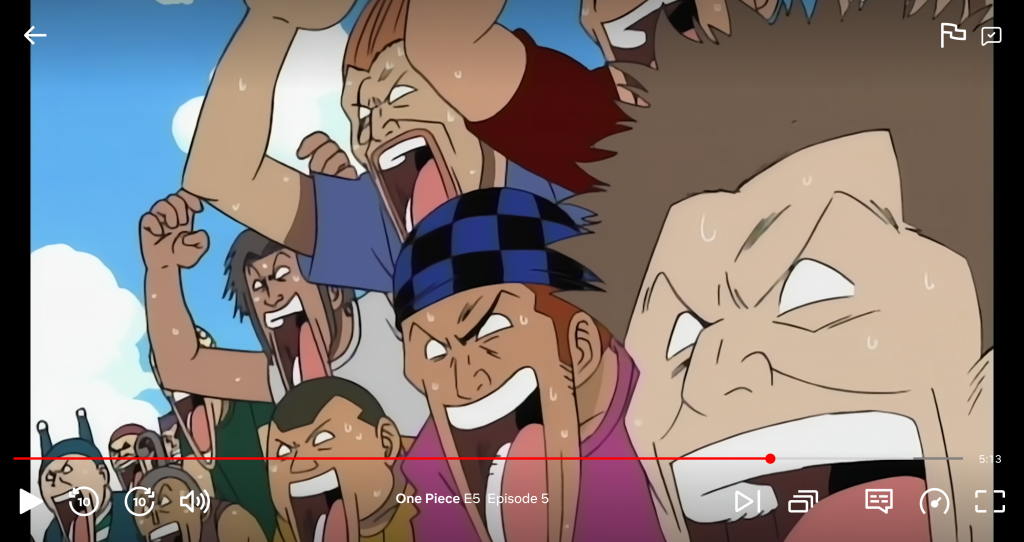
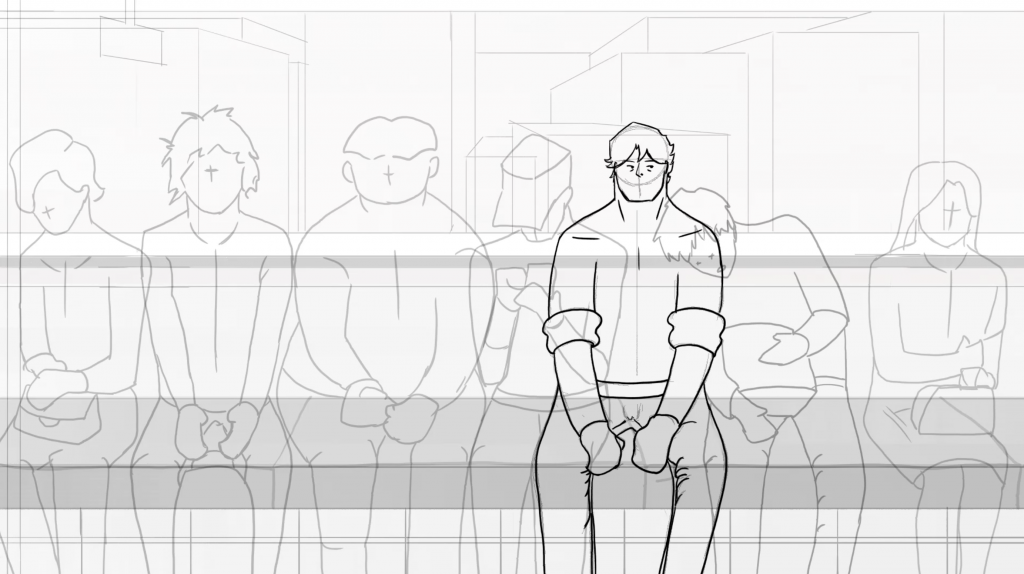
    After receiving feedback from my tutors, who suggested that the character movement was not believable, I decided to rethink the concept. I created a short storyboard and script (Figure 3) to clarify the idea and then recorded live-action reference videos to study the character’s acting and timing (Clip 6).
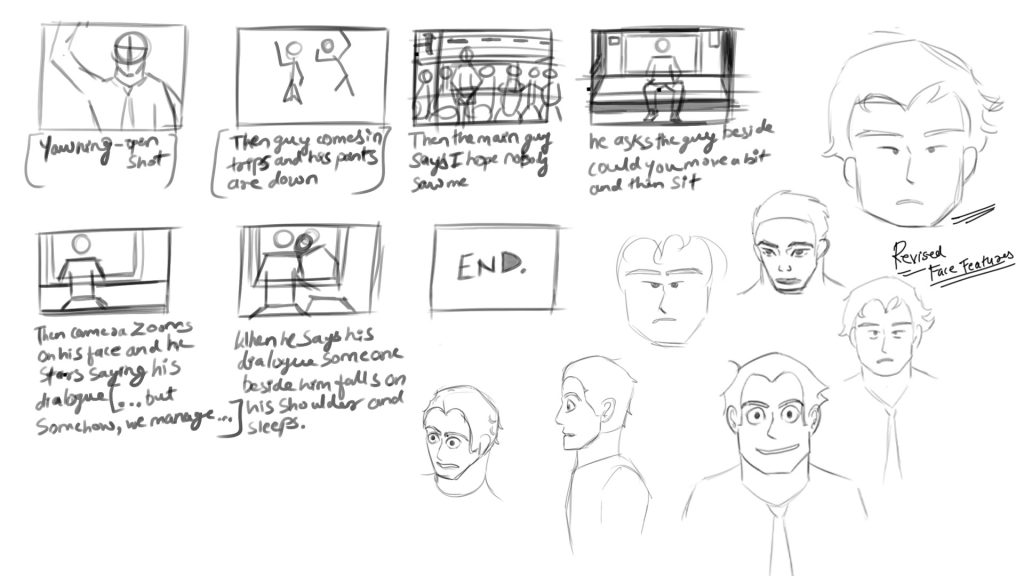
    Figure 3

    Clip 6

    Using these references helped me better understand character performance and facial expressions. I also simplified the character design by reducing unnecessary details in the facial features so that the animation could be clearer and easier to animate within the available time. The earlier version of the animation, which had heavier facial details, can be seen in Clip 7.

    Clip 7

    Reflection on Practice-Based Research

    Overall, these exercises helped me understand how practice-based research plays an important role in animation learning. By experimenting with animation tests, modelling, and acting references, I was able to better understand the relationship between timing, spacing, character movement, and storytelling.

    Although some assignments were challenging, especially in the early stages, the process of experimenting, receiving feedback, and refining my work helped me develop a clearer understanding of the animation process.

  • Reflection on My Simulated Work Experience and Professional Animation Practice

    Project Overview

    The project I was allocated was a short 2D animated film titled The Cat and the Fish. The story follows a cat that steals a fish from a fisherman, gets caught, and is then given a second chance to work honestly. The film includes several dynamic animation sequences, particularly a scene where the cat runs through a busy market with complex camera angles. The final animation is planned to be around 3–4 minutes long, making it quite an ambitious project in terms of production and animation workload.

    My Role in the Project

    My main responsibility was to animate few 2D sequence from the film. In addition to this, I also worked on creating a 3D model of the cat character and developing a background environment for one of the market scenes. The purpose of the 3D model was to help visualise complex camera angles that would later be used as a reference while animating the 2D sequence.

    The cat model also required basic rigging, allowing it to be posed correctly in scenes where the camera perspective was more complicated. This helped make the animation process easier when translating the 3D reference into 2D drawings.

    Challenges and Learning a New Animation Style

    At the beginning of the project, I was unsure about animating the sequence because the animation style used in the film was unfamiliar to me. However, I decided to treat this as an opportunity to learn something new. During this process, I explored the concept of snappy animation, where certain frames are held longer to emphasise impact while fewer in-between frames are used to maintain a sharp and energetic movement.

    This style is commonly seen in anime productions such as Cowboy Bebop, where motion appears expressive despite having limited in-between frames. Although I am still adapting to this approach, practising it helped me understand how animation timing can significantly influence the feel of a scene.

    Feedback and Improvements

    During the project, I received technical feedback from the project head on one of my scenes. In this shot, the cat looks away from the fisherman while the fisherman reaches into his bag to take out a fishing rod. Initially, my animation lacked anticipation and arcs, which made the movement feel less engaging.

    The senior suggested improving the shot by adding more storytelling beats. For example, the cat could briefly side-eye the fisherman, followed by a blink, before settling into a surprised expression. This helped create stronger anticipation and made the character’s reaction more believable. After applying these suggestions, the updated version of the animation felt more expressive and engaging. You can see figure 1 (Before) and figure 2 (After).

    Figure 1

    Figure 2

    Another scene I worked on shows the cat attempting to steal the fish while the fisherman is cutting it. Although this shot has not yet received feedback, I plan to incorporate arc-based movement and anticipation when the fisherman turns his head toward the cat to make the motion feel more natural
    (see figure 3).

    Technical Development: 3D Modelling and Rigging

    Alongside the animation work, I am currently working on rigging the 3D cat model. I received feedback suggesting adjustments to the eyes and moustache shape to better match the character turnaround design.

    Working on the 3D model helped me understand how 3D tools can support a 2D animation pipeline, particularly when dealing with complex camera angles and perspective challenges. Here are some of the images of the 3D model from different angles for comparision with 2D turnaround

    Understanding Timing Charts

    Another important concept I learned during this project was the use of timing charts. Previously, I did not have a clear understanding of how they function in animation. Timing charts indicate the spacing between key poses and in-between frames, helping animators control acceleration and deceleration in movement.

    Although the concept is easy to understand theoretically, applying it during animation requires planning key poses first and then estimating the spacing of the in-between frames. This process helped me better understand how timing and spacing influence the overall motion of a character.

    Reflection on the Production Process

    Overall, this experience helped me understand how a larger animation project is organised and managed. Tasks are divided among team members, and progress is tracked using production tools that help manage deadlines and responsibilities.

    Through this project, I was able to improve my animation techniques, technical skills in 3D modelling and rigging, and understanding of professional animation workflows. It also gave me valuable insight into how collaborative animation production works in a professional environment.

    Learning Resources

    During this project, I also referred to several online tutorials to better understand animation techniques such as timing, in-betweening, and character movement. These videos helped me improve my understanding of animation fundamentals and apply them during my work.

    Choppy Animation / Snappy Animation
    https://youtu.be/BBoVomEOKbc

    Understanding Timing Charts
    https://youtu.be/uZQ4GCdiCuM

    Timing Charts and Inbetweening
    https://youtu.be/86tqKH3zxuM

    Character Walks by James Baxter
    https://youtu.be/vihIPBrP6y0

    Overshooting and Impact in Animation
    https://youtu.be/wNJUMSJ2-qA

  • Using Animation Principles in One Piece: Analysing Luffy’s Punch and Framing of Shots


    Clip Analysis: Luffy’s “Gum Gum Pistol”

    Below is the clip analysed in this blog. The timestamps mentioned in the analysis correspond to moments in this video.

    Luffy frequently throws punches at enemies, but he has a unique way of delivering them. This attack is called Gum Gum Pistol. The action usually begins with a long build-up where Luffy stretches his arm far behind him before releasing the punch. This preparation phase builds anticipation and increases the excitement for the viewer before the impact occurs.

    In the clip, several enemies begin chasing Luffy. At first it appears as if he is running away from them, but this moment actually builds anticipation for what will happen next. Instead of escaping, Luffy grabs onto a pole while continuing to run forward. As he runs, his arm stretches further and further behind him.

    Figure 1: Beginning of the anticipation phase.

    At 00:04 seconds (see clip above), Luffy begins stretching his arm while still running forward. The anticipation continues to build as the distance between his body and his hand increases.

    Figure 2: Maximum stretch demonstrating squash and stretch.

    By 00:11 seconds (see clip above), his arm reaches its maximum stretch. Interestingly, he continues running in the same place for a moment, which subtly suggests that the stretch has reached its limit. This small detail also helps communicate that the upcoming punch will be extremely powerful.


    Squash and Stretch

    When Luffy stretches his arm, the squash and stretch principle is used very effectively. Even though the arm extends to an extreme length, the form does not become unnaturally thin or distorted. The animators maintain the volume of the arm so that it still feels believable despite the exaggerated movement. This careful control of form makes the stretching action convincing and visually clear.

    Once Luffy releases the punch, there is a short pause before the impact happens. The timing of the action is interesting because the punch takes several seconds to land. This delay increases the tension and makes the moment more satisfying when the attack finally reaches the enemies.

    Staging and Camera Framing

    The staging of the shot also plays an important role in making the action effective. At around 00:18 seconds (see clip above), the camera places Luffy far in the background while his stretched arm appears close to the viewer. This composition clearly communicates the distance and force behind the punch.

    Figure 3: Staging emphasising the distance and scale of the punch.

    Camera placement strongly influences how powerful an action appears. By placing the arm closer to the camera, the animators emphasise the scale of the attack and guide the viewer’s focus toward the incoming impact. Good staging helps the audience understand what is happening in the scene without confusion.

    Another example of staging can be seen in a different scene where multiple characters appear together in one frame (see figure 4). Each character is positioned according to their importance, and all of them remain visible within the shot. This arrangement helps show the relationships between the characters and makes the moment feel more engaging for the viewer.

    Figure 4

    What Could Be Improved

    One aspect that raised a question for me occurs when the punch finally lands. At around 00:26 seconds (see clip above), the scene mainly relies on the screen shaking to show the impact of the punch. While this does communicate force, it would have been interesting to see more animated reactions from the enemies themselves.

    For example, exaggerated facial squash or characters being thrown off the boat could make the impact feel more humorous and visually exciting. Showing the direct effect of the punch on the characters might make the moment even more satisfying for the viewer.

    Additional Observation

    Another interesting detail in the series is how characters exaggerate their facial expressions when experiencing strong emotions. Their faces often stretch or squash in exaggerated ways, which adds humour and personality to the animation while still following the animation principles. As seen in the attached screenshot.